When updating or migrating your site, it’s common to break a few pages or links. Usually, a user’s browser will return an error code when a user tries to click through to a broken or missing page. If a user receives an error multiple times, they’re much more likely to exit from your website, which could impact your bounce rate.
301 redirects help point users to the correct page when they select a broken link. If you have a WordPress site, you can still set up redirects. Let’s review how.
What are redirects?
Redirects are a type of technique that sends users and bots to an updated URL. When users click on a broken link or encounter a broken page, a redirect automatically sends them to the correct URL.
Redirects can impact your SEO; search engine bots need them too. if Google explores your site and can’t find a page, it can impact that page’s ranking. However, if the Google bots find a redirect, it’ll consider what kind of redirect used and how long its been in place when ranking your page.
Redirects help the user experience, sending a user to the new location, especially if they didn’t know you’ve moved or refreshed.
How to Use Redirects
Redirects are often used to update a website that has migrated to a new server. You can also use them if you’ve done a website update, changed any page URLs, or made updates to your website’s navigation.
You can also redirect a page to avoid creating duplicate content. If you’re moving content o a new page with an updated URL, you can use a redirect to direct users from the old page to the new one.
Types of redirects
- 301: These are “permanent redirects.” You’ll use 301 redirects when a page has been moved to a new destination permanently. 301 redirects hold the most link equity, and work best for SEO.
- 302/307: Use these redirects when moving a page temporarily or when you want to redirect users to a new website or page temporarily.
- Meta refresh: You’ll usually see this type of redirect used client-side (i.e, in your browser) and not your server. They direct users to a new page after a specified amount of time. They’re not recommended for SEO purposes.
- HTTP to HTTPS: This type of redirect that forces browsers to display the HTTPS version of a page.
Each type of redirect can be slotted into two categories:
- Client-side redirects: These redirects happen directly in the browser. A user can trigger a client-side redirect when selecting a link. For example, if you select a page and receive an an option to “click on this link if you’re not redirected in 5 seconds,” you’ve encountered a client-side redirect.
- Server-side redirects: This redirect occurs when a web server answers with a server status code. When a user clicks on an outdated page or link and they are automatically redirected to a new page, you can thank a server-side redirect.
Redirecting URLs via htaccess file
An htaccess file is a configuration file that tells your server how to display pages from the WordPress root directory. We only suggest you redirect using this method if you are, or have, a web developer or you are familiar with the the technical backend of your WordPress CMS.
How to redirect URLs via htaccess file
- Verify your web host’s htaccess editing rules. Double-check that you have edit-level access and can make changes to the file without requiring your web host or web developer’s help.
- Backup your site and create a copy of your current htaccess file. It’s important to back up your site and download your htaccess file before making any changes. If something goes wrong, you can revert back to your original website.
- In the root directory, add this line of code at the top:
Redirect 301 /current-page.html http://www.yoursite.com/new-page/
Redirecting URLs via Plugins
This is one of the best ways to implement redirects on WordPress. Plugins leave very little room for error. Remember to back up your website before installing and using plugins.
YoastSEO
YoastSEO is a trusted name when it comes to SEO and WordPress. This plugin addresses several aspects of SEO, including redirects.
- Log into the back end of your website, and back it up.
- If you haven’t already, download the YoastSEO plugin from the WordPress plugins store. Go to Plugins on the backend of your website, then Add New. Search for the YoastSEO plugin.
- Once installed, go to the Plugins page and click Activate. Now the plugin’s up and running on the website.
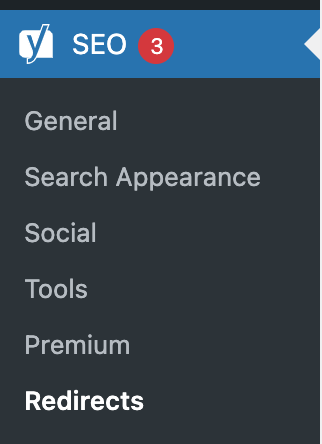
- In the left-hand toolbar, select the Yoast menu (the “SEO” next to the “Y” symbol.) Select Redirects:
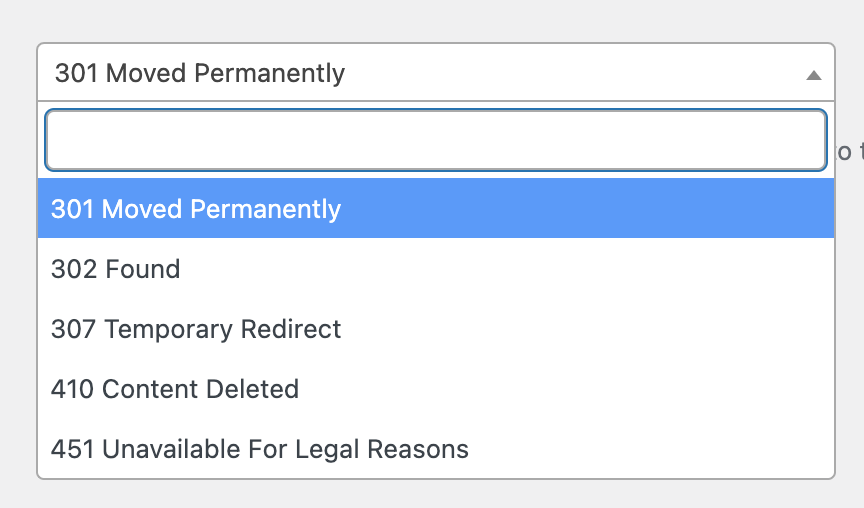
- Choose the type of redirection:
- 301: moved permanently and will be the final destination
- 302: found but moved temporarily
- 307: temporarily redirected (might be useful for a cart or temporary page)
- 410: content delete (for old, outdated content that is to be deleted from the website)
- 451: unavailable for legal reasons
- Enter in the slug of the old URL you want to redirect. Ensure the slug’s format appears exactly as its written. Click Add Redirect.
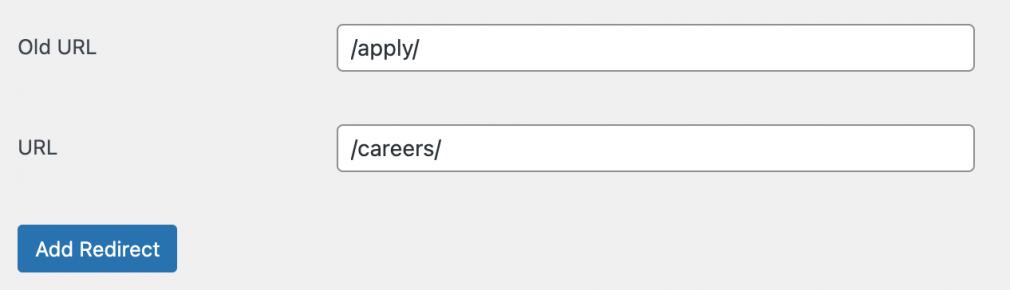
- The redirect is now live. To test it, plug the URL into your browser’s address bar. If it doesn’t work, clear your cache from your browser history and try again.

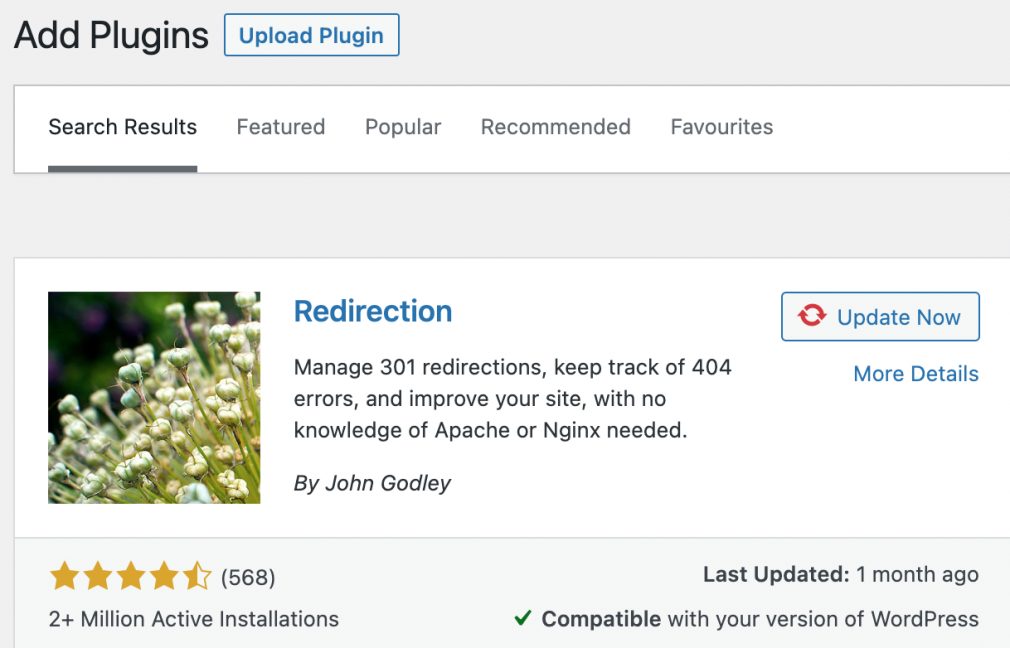
Redirection by John Goodley
This is a very simple and easy-to-use plugin that focuses solely on redirects.
- If you haven’t already, download the Redirection plugin from the WordPress plugins store.
- Install and activate the plugin.
- Go to Tools on the left side menu panel, then select Redirection.

- At the top of the page, click Add New. Enter the slug of the old URL in the Source URL field. Enter the slug of the new URL that you want the redirect in the Target URL field. Select Add Redirect.

- The redirect should now be live. Test that the URL works by visiting the page’s old URL and ensure edirects to the new URL. If it doesn’t work, clear your browser’s cache and try again.
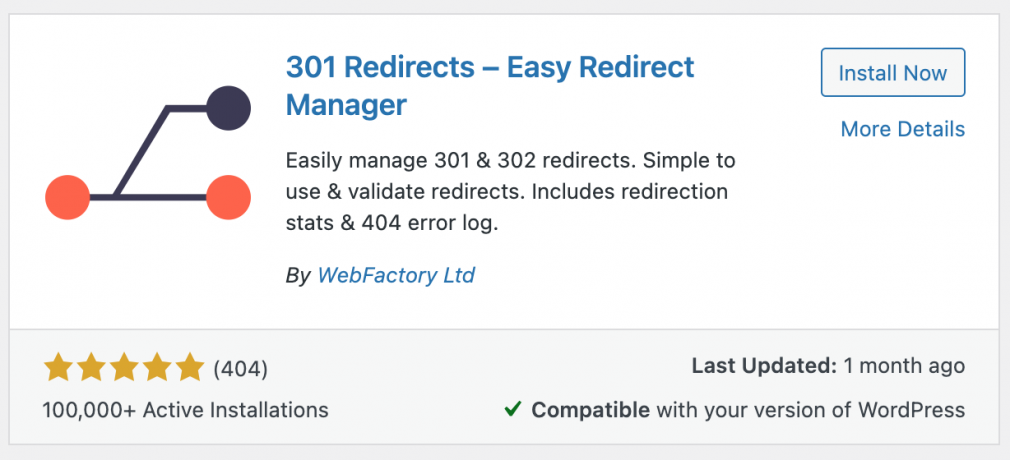
301 Redirects – Easy Redirect Manager
Much like the Redirection plugin, this plugin makes redirects clean and easy-to-understand.
- Download, install and activate the 301 Redirects plugin.
![wordpress redirect]()
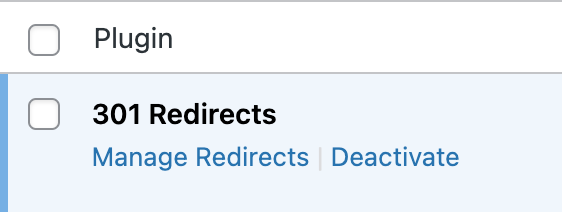
- Go to the Plugins page. Under 301 Redirects, select Manage Redirects.
- Choose the ID, or redirect type (301, 302, or 307).
- Add the slug from the old URL in the Redirect From field. The new URL you want to redirect to goes in the Redirect To field.
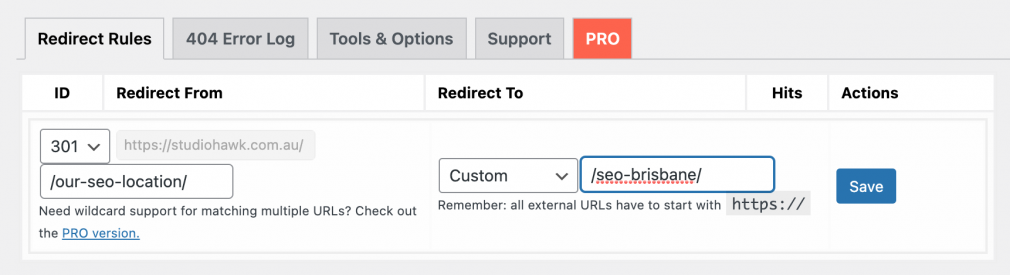
- The redirect should now be live. Test that the URL works by visiting the page’s old URL. If it doesn’t work, clear your browser’s cache and try again.
It’s crucial to find and fix broken links as soon as you encounter them. If a user clicks on a link and doesn’t find what they’re looking for (or worse, receives a 4xx error), they’re much more likely to bounce off the page – and your website altogether.
Running a regular site audit can help you spot any site issues that arise as you update your website. If you forget to add a redirect to an updated or moved page and it results in an error, a site auditing tool can spot it.
The Site Audit tool includes specific checks for 400 bad request errors and broken links, so you can find & fix broken navigation with redirects. To get started with the Site Audit, you’ll:
- Log into your Semrush account.
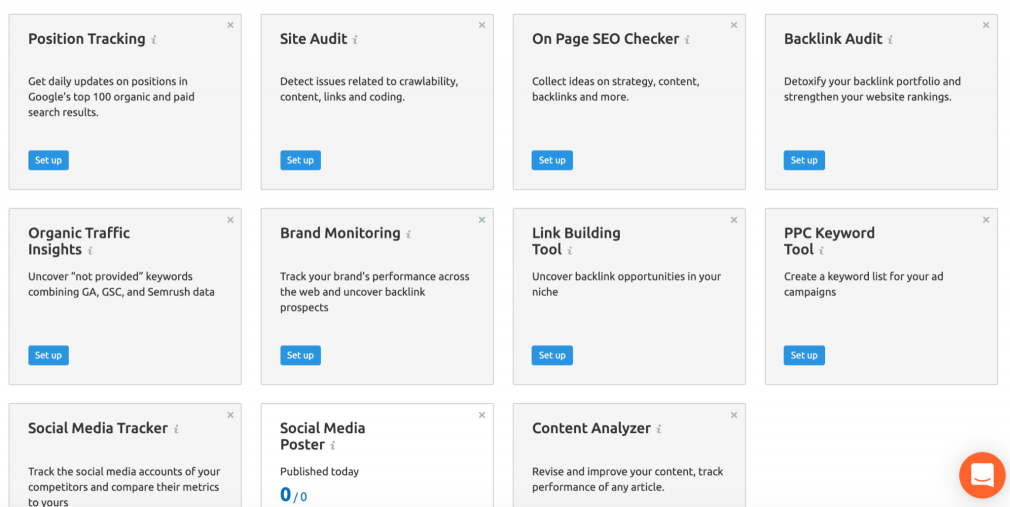
- Select Projects under Management to view your project(s).
- Select your preferred project, then select Site Audit from the project dashboard.
![wordpress redirect]()
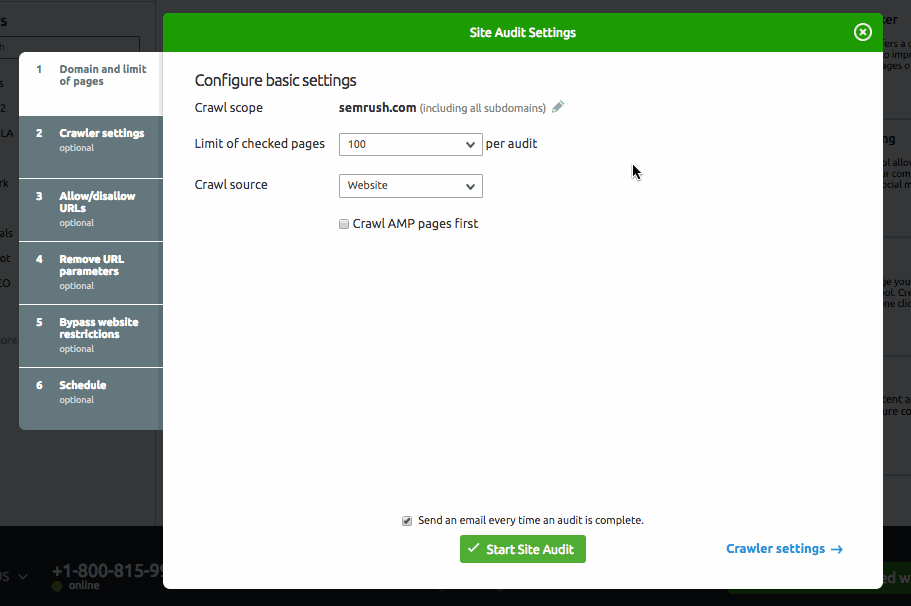
- Configure your audit settings. You’ll be able to set the audit’s crawl scope, disallow URLs, and add additional website login information.
![wordpress redirect]()
- Select Start Site Audit.
The tool lets you know when your results are available for review. Select the Issues tab to search for pages that return a 4xx error or broken links:
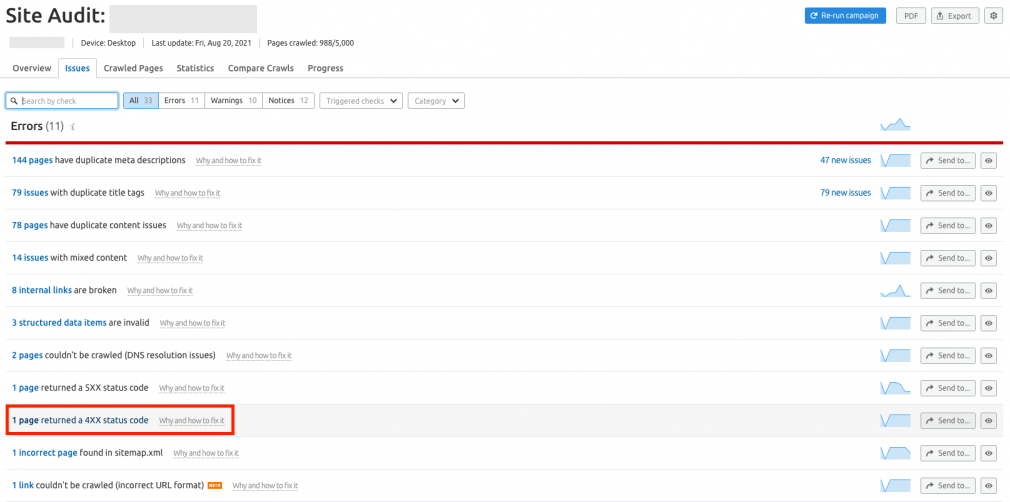
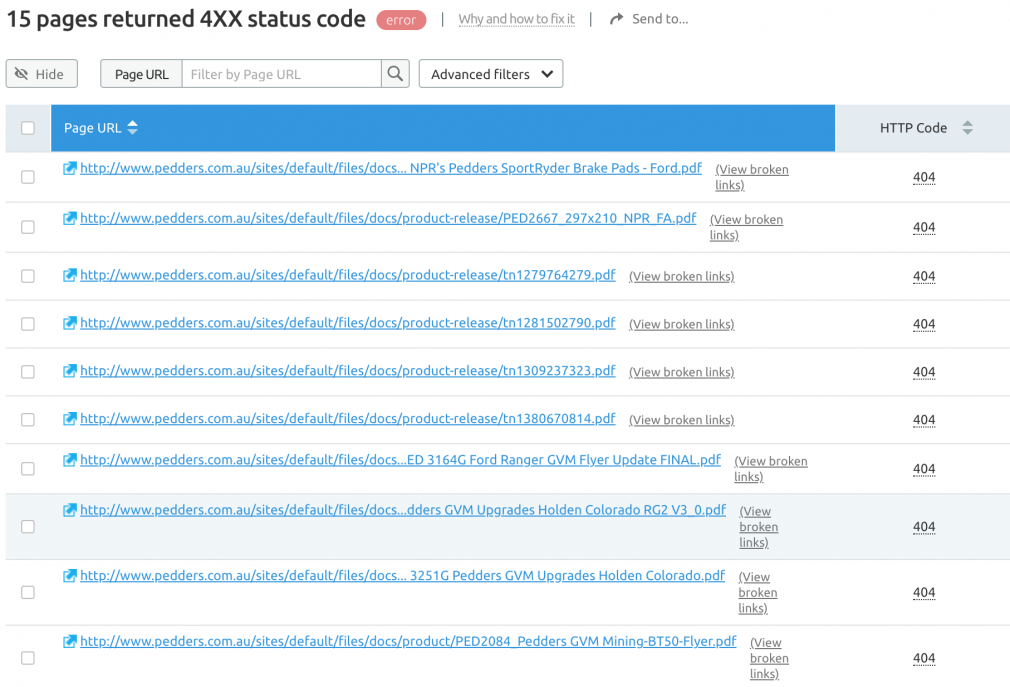
Select the issue to see each URL returning the 4xx status code:
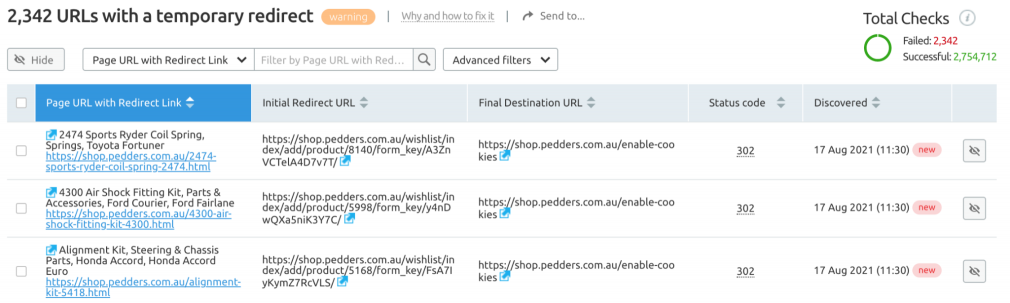
Issue: Pages with temporary redirects
Temporary redirects aren’t 100% SEO-friendly. Search engines can index the redirected page, but the page won’t receive any of the page authority from the backlinks pointing to it. This can negatively impact the page’s ranking and traffic.
The Site Audit tool flags URLs with temporary redirects and can help you determine which URLs need to be permanently redirected or removed.
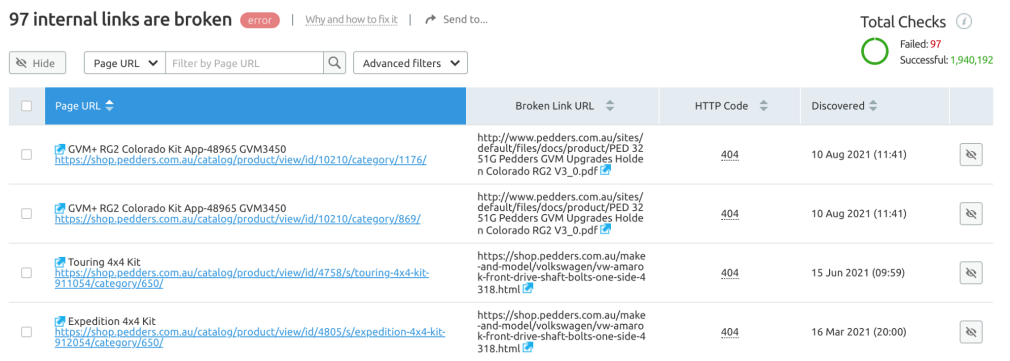
Issue: Broken internal links
Internal linking occurs when you link from one page to another on your website. The Site Audit tool also indicates any broken internal links it can find on your pages.
Key Takeaways
Broken links and pages hurt your ranking. Redirecting is an easy way to avoiding taking a hit to your rankings.
They can be easy to implement or fix, depending on the tools you use. Run audits regularly to see if there are any broken links.
Find and Fix Sitemap Errors
with the Site Audit Tool

